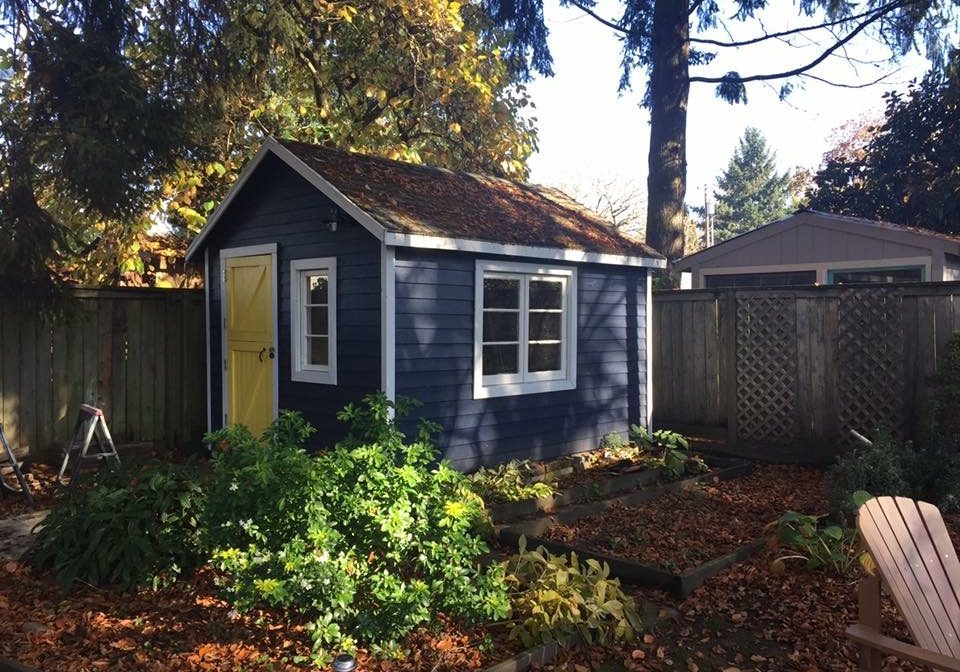
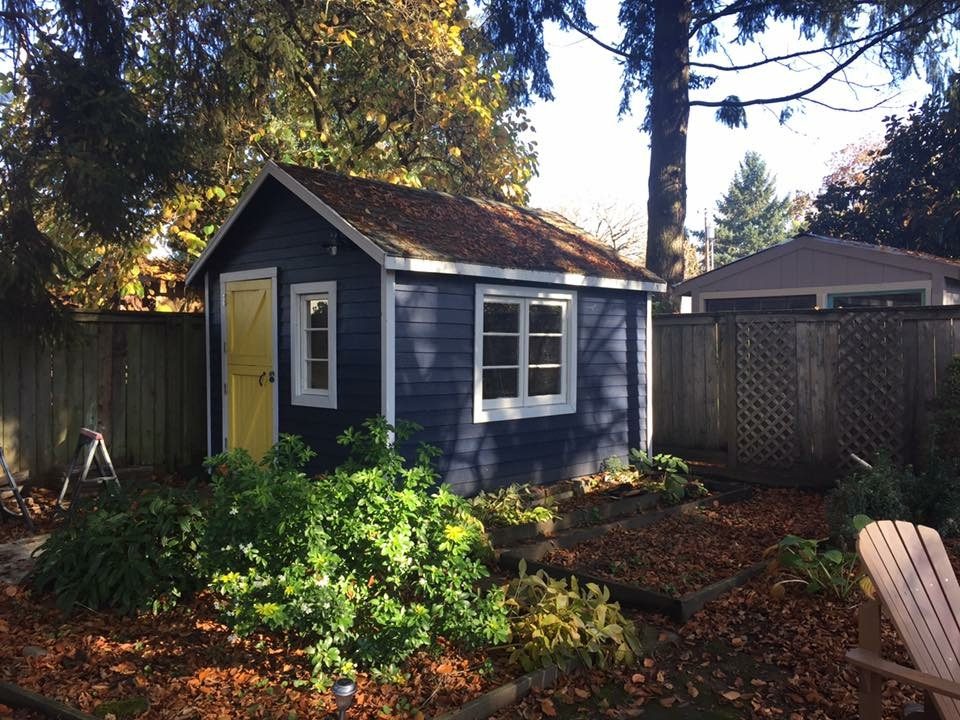
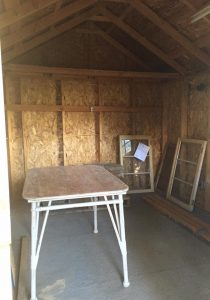
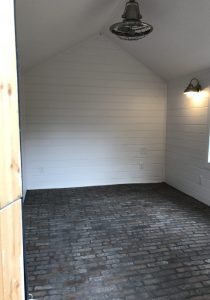
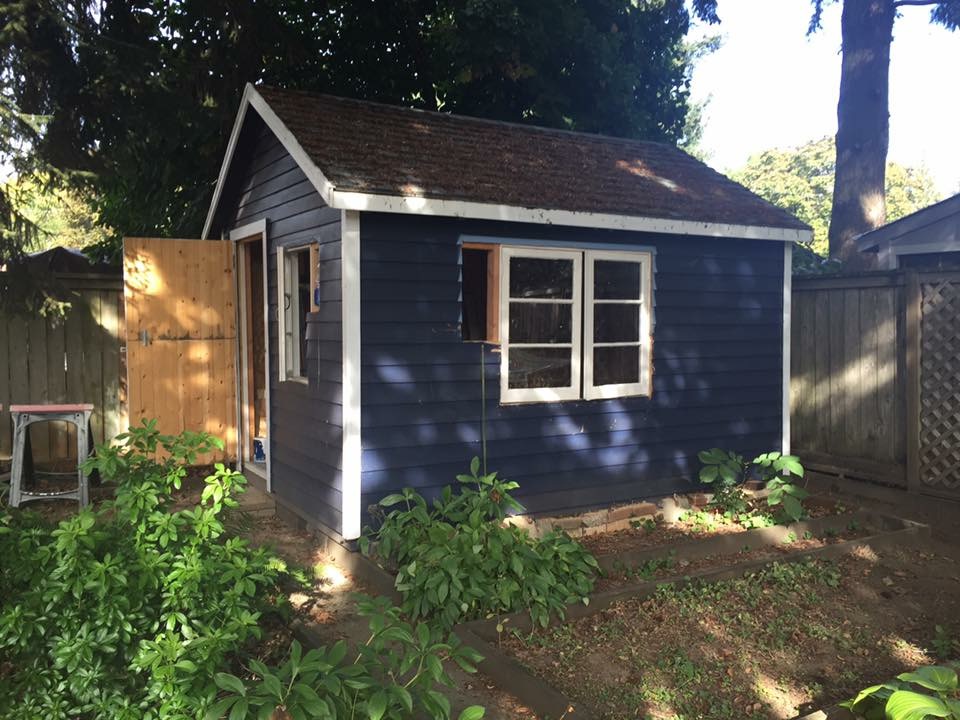
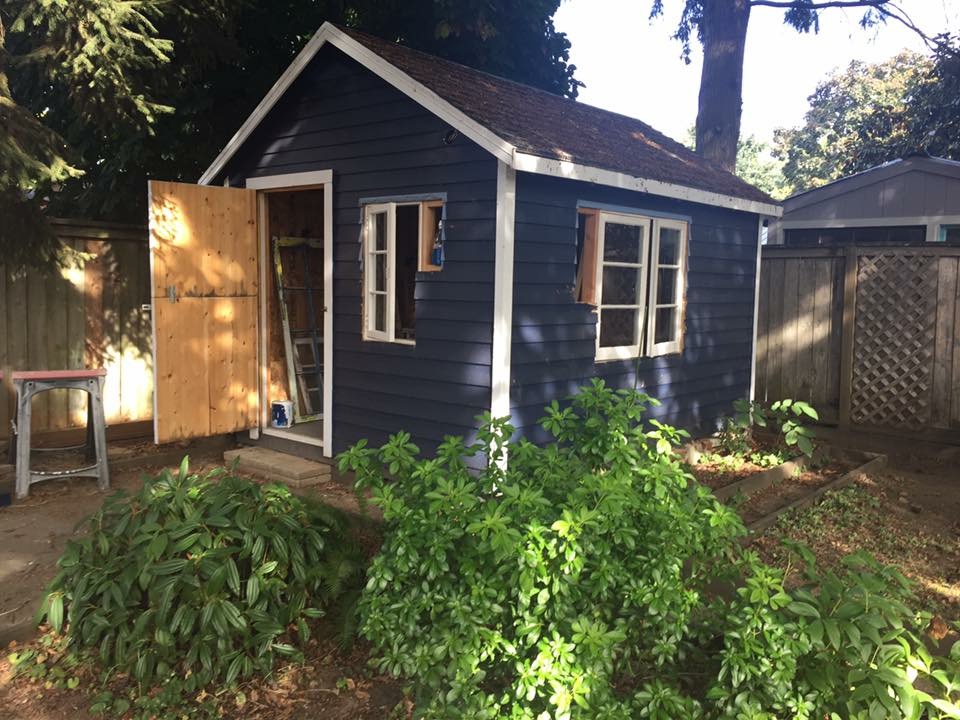
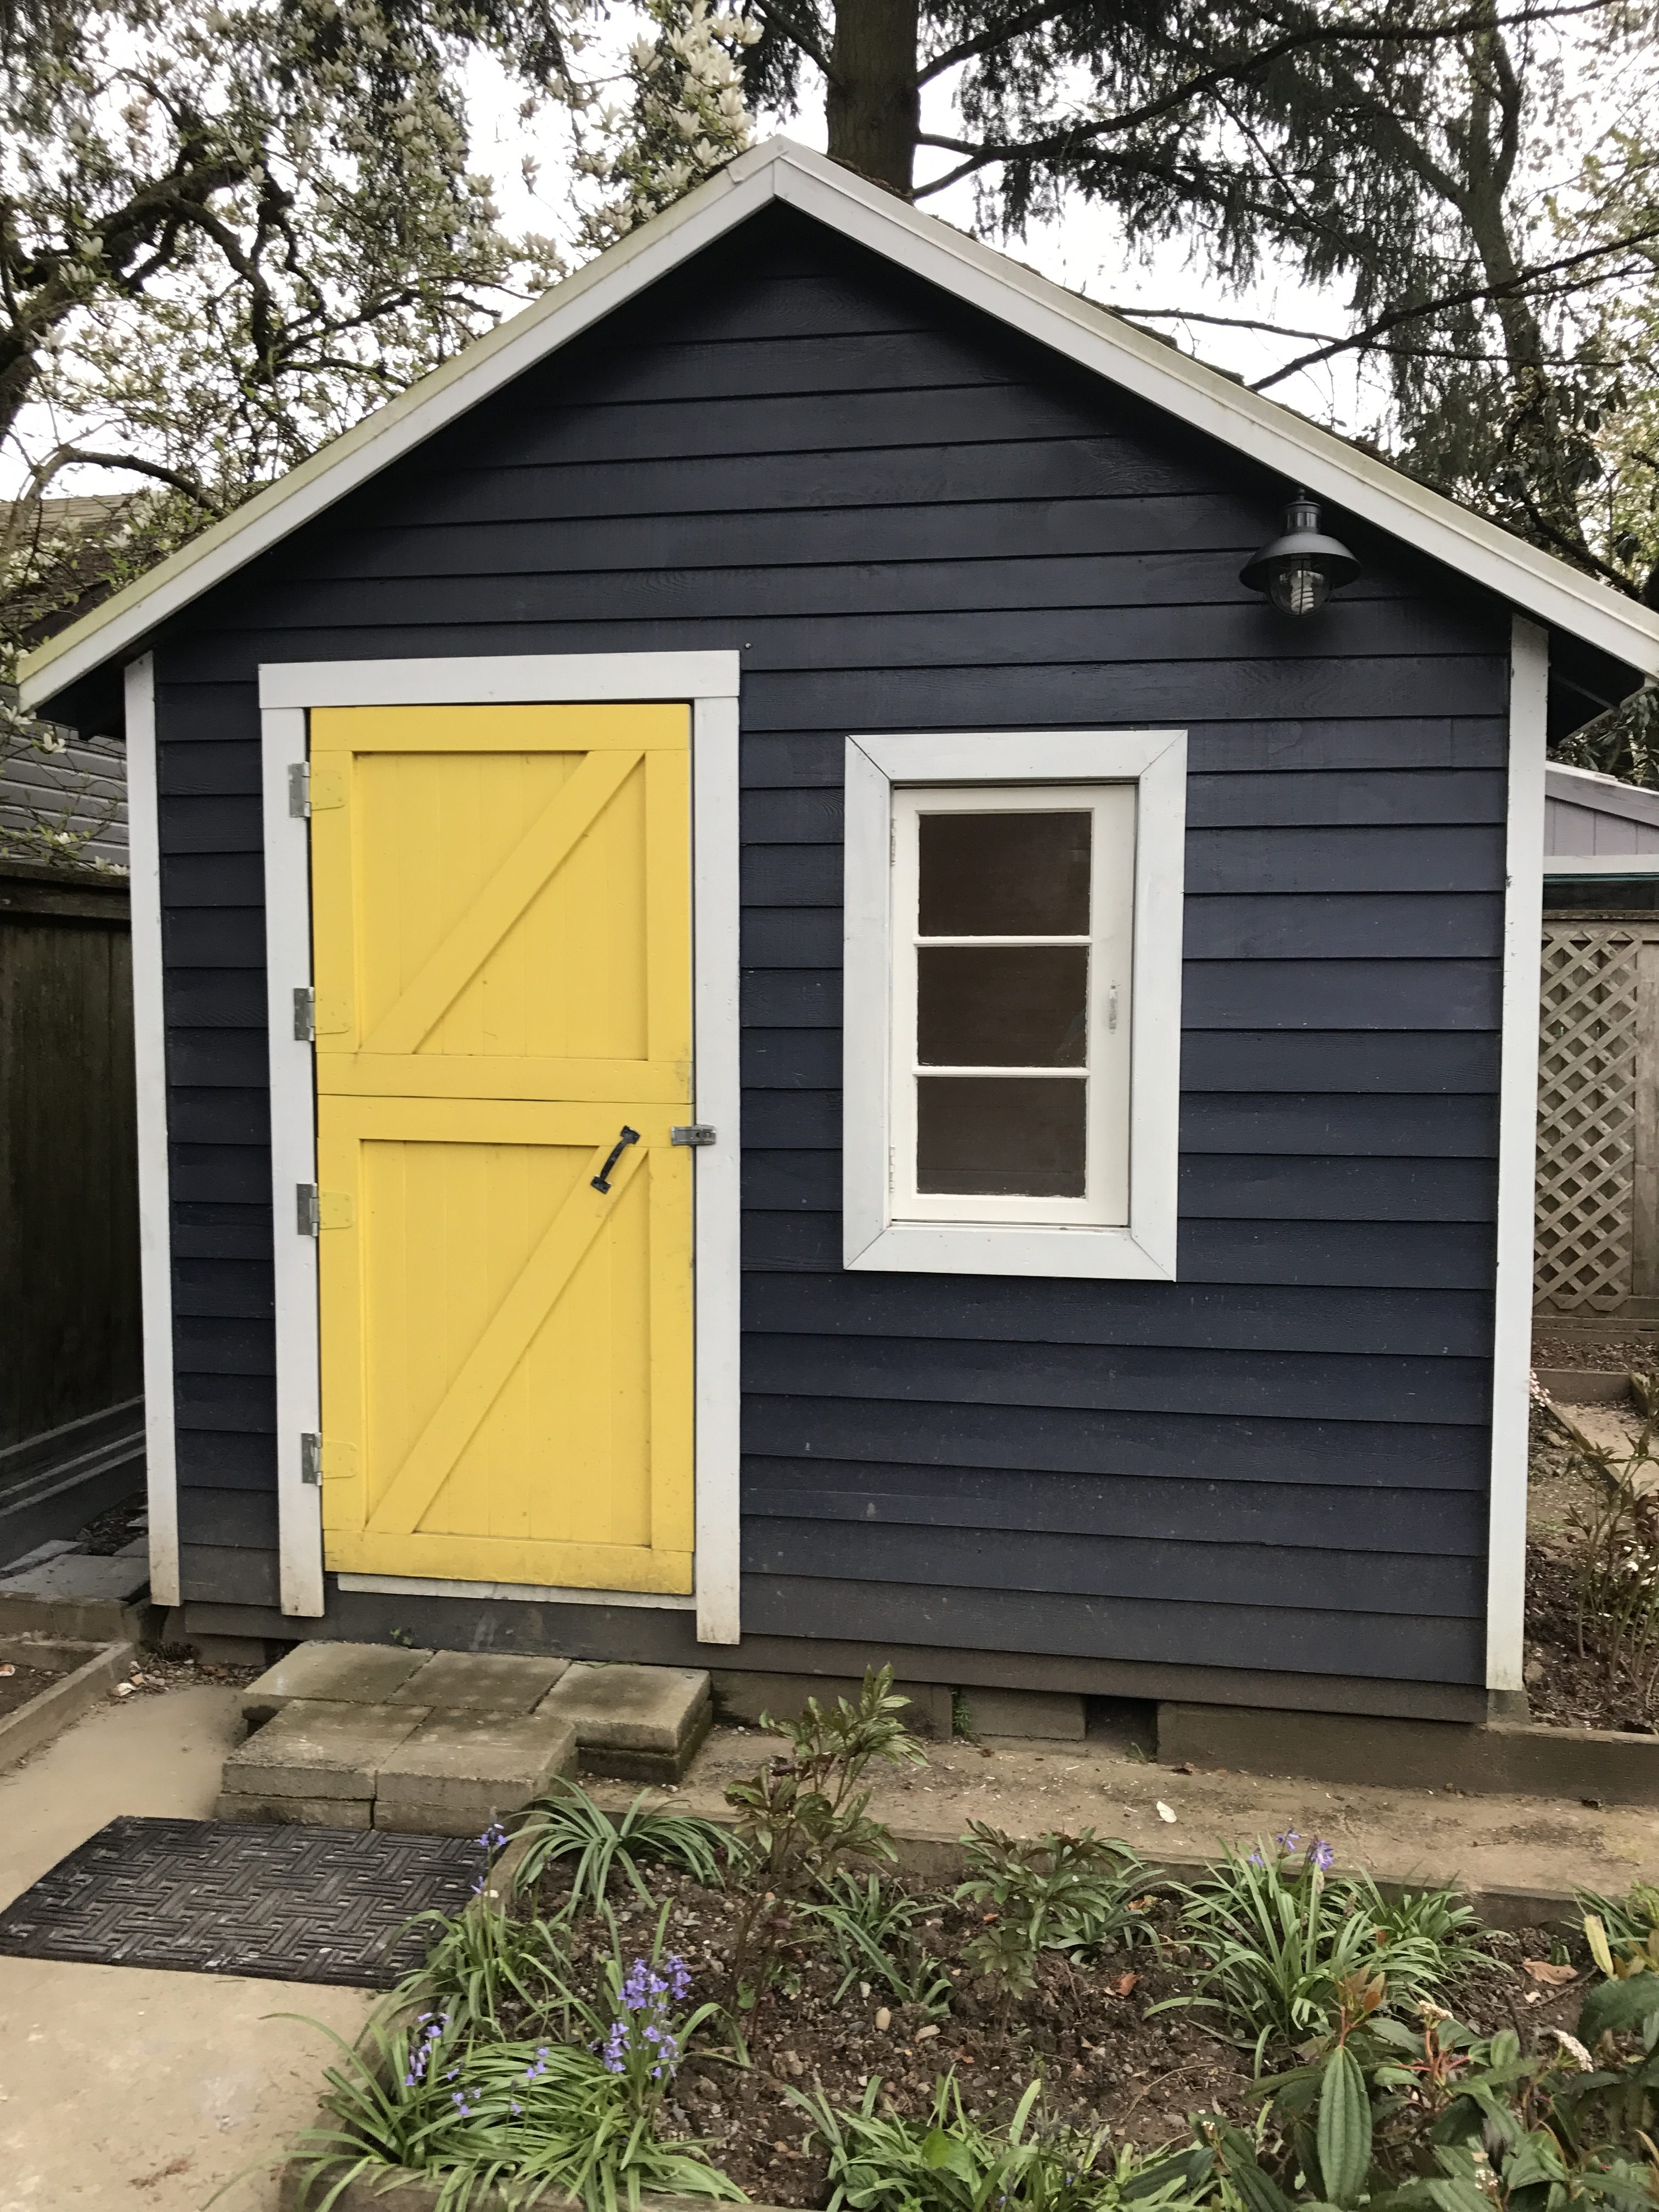
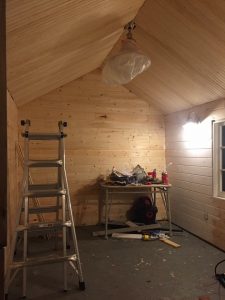
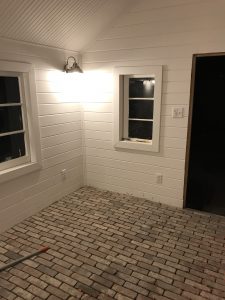
As I sit in my newly finished writing shed/office and listen to the rain come down around me, I am still in a little disbelief that this almost year long project is actually finished and it’s turned out so beautifully. It’s not perfect. The floors are irregular, there are errors in construction, the windows could be a little cleaner. But it’s lovely and it’s done and I did it.
As the project neared the end, though, I realized how much this whole labor of love — which involved lower back pain, bruised fingers, cuts and scrapes, calculation errors, and many rookie mistakes — resembled the process of a novice novelist. The biggest part of becoming a writer, developing as a writer, is writing. And the biggest part of becoming a renovator is to just start tackling the projects. To learn the skills, correct mistakes and have the determination to see it through to the end.
I myself am a novice novelist. I’ve been a writer for a number of years. I’ve been a blogger and an essayist. I’ve contributed articles to online community magazines . I’ve written short stories and short film scripts, technical manuals, website content, press releases and corporate magazine columns. But I’m slowly learning the process of writing a book….and developing the determination to finish one.
The process of converting the shed seems to me similar to the process of writing a book. A labor of love, full of unforeseen obstacles, learning, frustration and fear holding me back and, as hopefully my first book will be when it’s completed, a great sense of accomplishment and success as I cross the finish line. But on the journey to become a triumphant DIY shed rehabber, there were a number of lessons I learned, things that I now realize can be adapted to writing.

1. The First Step Is A Doozy
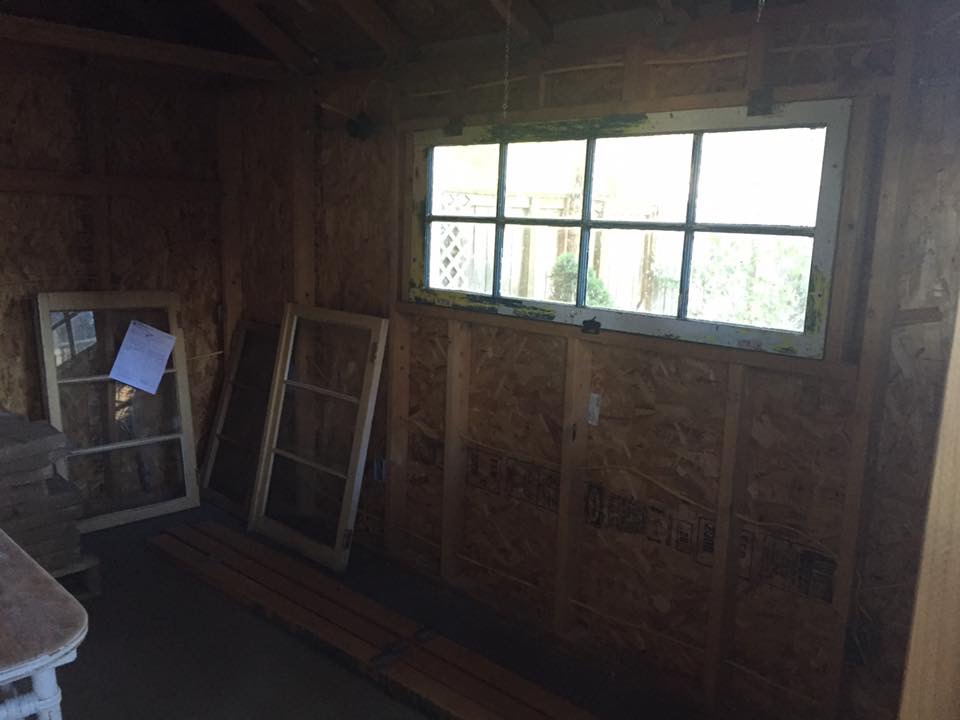
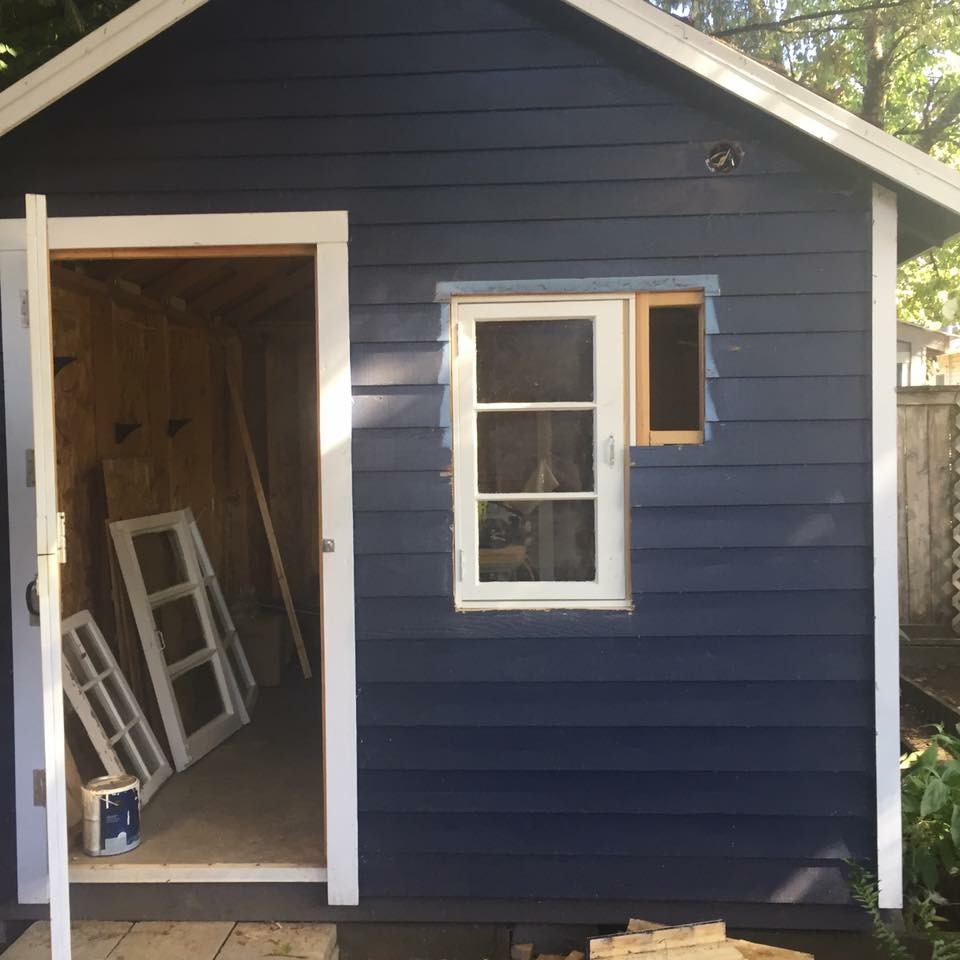
With the shed, the most challenging obstacle, which had to be finished before anything else could be done, was refitting the windows. I wanted French casement windows that open from the center out without a bar in the middle. I chased down the vintage windows I wanted, getting the glass refit, painting them. But the first step I had to do to start the rehab was to remove the old windows and cut out sections of the existing wall to fit them. That was daunting. It involved geometry and precision measurement, neither of which I’m very good at. It involved carpentry skills, of which mine were relatively basic. And, as it happened, it involved quite a bit of Googling and YouTube video watching until finally I just took a deep breath and dove in. And once I made that first cut in the wall, took out that first piece of the framing, there was no going back from that point on. You don’t turn back on the yellow brick road halfway to Oz. That first cut meant the project was started.
The Lesson
Sometimes the first word is the hardest. Sometimes it’s the 10th word. Sometimes it’s the 100th word. The biggest challenge is to just start writing. And keep writing. Do the outline and the prep work, but like the shed, at a certain point you have to just jump in and just get on with it. But don’t stop when you get nervous or scared. It helps if you…
2. Attack the Project In Pieces
Looking at an empty shell of a building, with a grand vision of where I wanted to get to but not a clear technical idea of how to get there, the only thing I could do was to start looking at it like a project manager would for building a piece of software. What are the components that need to be built, what order to they need to be built in, what are the requirements for each one, etc? So very early on I took a step back and looked at the shed systematically, though I didn’t do a large scale breakdown or anything as it was a 10’x12′ shed and not exactly an architectural masterpiece.
But most projects needed to be done in a specific order.
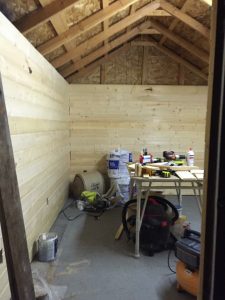
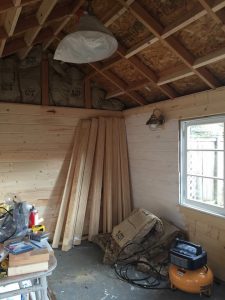
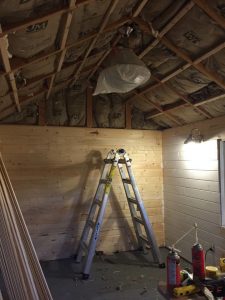
The wiring had to be done before the insulation. Insulation before the walls. Walls before the paint. Paint before the floors. Having a general through line in mind as to how I was going to attack the project, and seeing the progress as each piece was finished, made it much easier to look at the whole of the space and see the light at the end of the tunnel.
You need to prioritize the tasks, know what pieces of the project have to come before the others in order to for you to finish it properly with a least amount of duplicated or wasted effort.
The Lesson
When starting a writing project, know what parts of your story have to be done first in order to complete the project properly.
You need to know your characters, know a basic plot outline – where you’re starting from and where you’re going – and if there are any twists and turns in the story. Break the book down into what you need to do.
You don’t have to write in chapter order — you can write the last chapter first if you want to — as long as what you write in that chapter doesn’t change or disconnect from what you wrote in chapter 1. If you know where you’re going and have a general mapped idea of what is coming ahead, you can write in whatever order you choose.
3. Learn As You Go
Before I started the shed project I had never used a miter saw. I was actually not a fan of power saws at all. I’m a natural klutz and I like

having fingers, so power saws seemed like a bad idea. But I got a little one and got comfortable with it. Because I had to do get the job done.
I’d also never used a pneumatic nailer. And now
I’m a proud owner of two (and a stapler!) and enthusiastic user.
I’d never framed out a window. Cut a hole in a wall in any building. Installed siding. Matched paint colors. Worked with an electrician. Used caulking for anything but bathrooms.
But without this project I wouldn’t have HAD to learn those skills and learn how to use those tools.
The Lesson
The act of writing alone will challenge you to learn to do different things. Not so good with dialogue? Need to work on plot? The only way to learn how to do those is to write with that in mind. Research and read books, articles, watch videos, anything you can to help you increase those skills so you know what you’re doing when you are writing. But the actual act of writing a specific project will force you, challenge you to improve those skills.
4. Be Willing To Rip Up Mistakes And Start Over
Because I didn’t know what I was doing, I made many mistakes in the process of renovating the shed. Whenever I made a mistake, my first response was, “Ah, it’ll be fine.” And then inevitably I’d come back the next day, look at it with fresh eyes and decide, “No, it won’t,” and rip it up and start over. When I framed in the windowsills I used a MDF board (particle board) meant for only interior use. I thought it would work…until it was installed and I realized it was exposed to the outside world on the sides of the windows. I left it for a few days, but then decided I’d rather fix it now than 2 years from now when it rotted and the windows fell off and it was much more complicated to fix. So out they came and in went properly primed, treated wood.
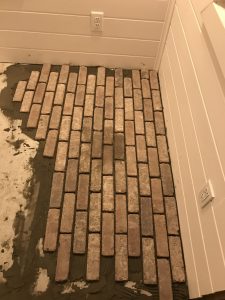
Similarly, the final project was laying the brick tile floors, something I was comfortable doing. However, the spacers I had gotten weren’t staying, so I said, “Eh, it’s okay, everything about the shed isn’t square, so what’s a little out of alignment in the tiles?” and laid some anyway. I came back the next morning and really looked at it, saw the inconsistent spacing, places where tiles were too close together, and decided, no, it needed to be done better. And I ripped it up, found other spacers, and did it the right way.
I pulled out boards that I put in that didn’t line up right. I pulled out nails that went awry. I pulled out molding that lined up incorrectly. I painted three or four layers to try to get the right look I wanted.
But because I was willing to remove shoddy work, even though I was eager to get the task done, the final product is much better. And when I redid the work and fixed the mistakes, the second (or third) round of effort was faster and easier with a better result because my skills and knowledge had significantly improved and I avoided the errors I’d done the first time.
The Lesson
It’s easy to get attached to something you wrote that you like, be it a character, a plotline, a scene or a phrase. But you have to be willing to rip out a chapter, a character, a plot point if it doesn’t work, it not right for the story or you just wrote it poorly. And start over.
Holding onto something out of laziness, or emotion, will only hurt you in the long run. Be willing to look at your work with a critical eye and take out something you love or rewrite something that has problems if it helps your story in the long run. Remember the goal is to write a good story, not to have one good character or scene in a book that’s flawed because of it.
5. Be Flexible
I changed my design plan a number of times in the process. Wood floors went and brick pavers came in. I adapted to mistakes I’d made, most being happy accidents. But because the process went slowly I got to think about things many times over and change my mind.
The Lesson
Be willing to change up your story. Don’t be too stuck to a certain idea of what you think the story should be. Sometimes the story you think you’re writing can take a different turn and become a better book down the line, if you let it.
6. Use The Right Tools
Right before I started putting up the siding in the shed, on the advice of the clerk at the lumberyard, I looked into renting a pneumatic nailer. But it would have cost $35 a day, and I knew finishing this project would take multiple days. I went to Lowe’s and, with help, got for $200 a finish nailer, a brad nailer, a stapler, a hose and the compressor. It was the best investment ever. I used that for walls, ceilings, insulation. And without those tools the project would have taken 10x longer, probably resulted in carpal tunnel and definitely in frustration, and there’s no way I could have finished the project with any kind of proper craftsmanship.
The Lesson:
Tools are important. Even the best writer needs the right equipment to help them enhance their craft. Have a good desktop or laptop and have an external keyboard to write on or at least a very good laptop keyboard. A comfortable chair, a desk and pay attention to ergonomics, to keep your body and your hands in decent shape while you write. And find yourself a place to write that makes you feel creative.

powerful and affordable
Invest in writing software. Scrivener is great and is only $40. If you’re going to be writing screenplays, spend the money for Final Draft, Movie Magic or other professional level screenwriting software. Make it easy for you to do a professional job as a writer by investing in the tools to help you be productive.
7. At Times It Will Be Boring and Tedious, But If You Stick With It You’ll Finish
There are more than 100 tongue and groove boards that line the walls of this little shed. And equally as many, if not more, beadboard slats in the ceiling. Feet and feet of insulation. 121 square feet of thin brick tile. Grout and nails and caulking. Gallons and gallons of paint.
I promise you, every day working on this shed was not exciting. Or even often fun. There’s a lot of monotony in DIY.
But there’s also a lot of reward. While individually each board wasn’t exciting to look at, after you’d put 10 boards in you could look back and see progress. And progress is what keeps you going.
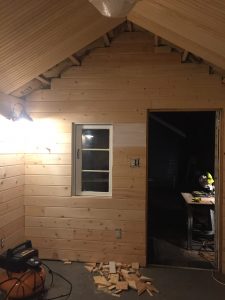
Because if you stop, it’ll never get done. There were some days I only put up a few boards. Some days I did a whole wall. I tiled and grouted the floor in stages, as much as I could stand in one day. But I kept at it because I very much wanted the finished product.
And because I kept at it, putting in whatever time I could, sometimes only a half day every week or so, now, 7 months later, I’m done.
The Lesson
If you keep writing, eventually you’ll finish the book.
It’s that simple.
It may take you a while. You might write 5 sentences one day and 5 chapters the next. Your mood, your inspiration, your connection to the story, all those things will dictate how much you get done that day. But as long as you keep writing something, eventually you’ll be done.
Progress meters are can help you feel a sense of accomplishment. Word counts, page counts, chapter counts, any other sort of counts and metrics, are a clear vision of what you’ve already accomplished and can keep you going even when the going is boring and tough.
If you give up, you never finish. If you regularly put one project aside because the writing has gotten too tough and start on another project, you’ll never finish. At times it’s going to be hard. At times it’s going to be boring. You’re going to have problems with the story, the plot, the characters. Accept that as a given and keep at it. Rip out what you have to, redo what you have to, but keep going.
The beginnings of decor…
The beginnings of decor…
A room with a view…
A room with a view…
Every office needs a nap (and dog) bed…
Every office needs a nap (and dog) bed…
A tea and book station…
A tea and book station…
Keep creating, keep writing. You can slow down, but don’t stop.
Because if you keep at it you’ll not have a shed, but an office.
Because if you keep at it you’ll not have a project, but a book.
And eventually you’ll write the two most satisfying words you’ve ever written.
The End.
